Want to know how to build DIY Wall Panels for under $200? Look no further. Add some major Palace of Versailles vibes to your space by adding some DIY Wall Panels. These DIY wall panels only require a few tools, some cap moulding from your nearest hardware store, and a few days of work!

DIY Wall Panels Tools & Materials:
- Nail gun
- Miter saw: (You could also use a hand saw but that would take forever)
- Laser level: Optional
- Paint sprayer: Optional
Step 1: Measure
First you will need to calculate how many boxes you want to include vertically and horizontally for your DIY Wall Panels. I like to choose an odd number so there is a definitive center of the room.
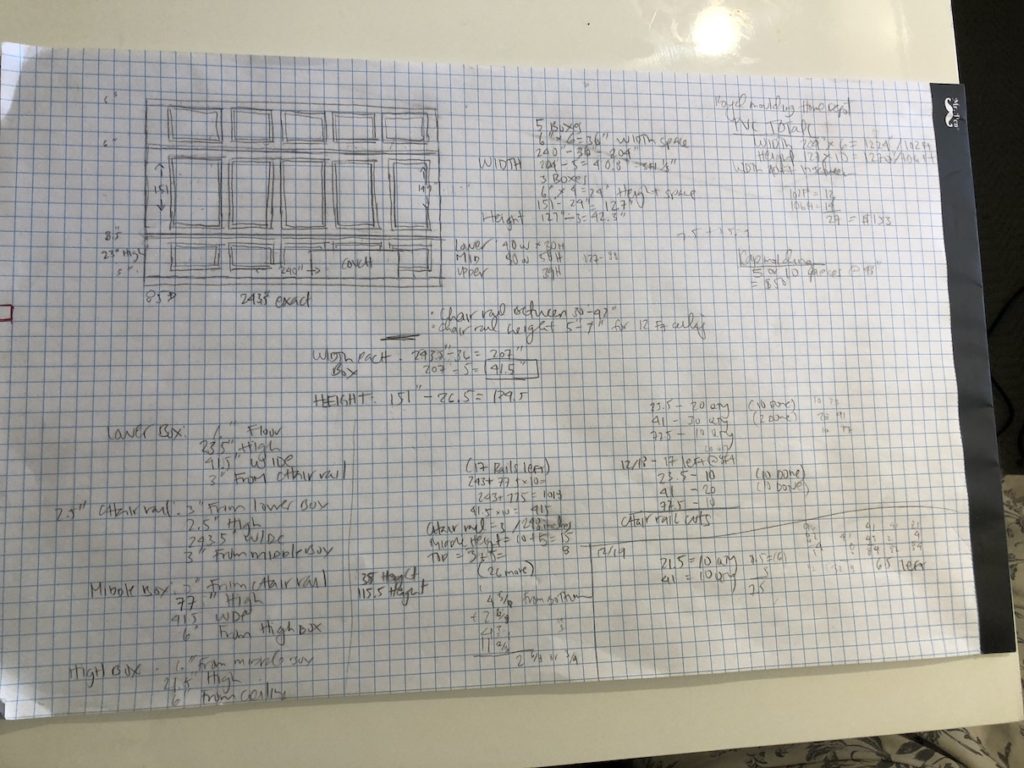
Need help calculating?
- Measure the length and height of your wall.
- Typically each box is separated by 6 inches.
- Decide how many boxes you want to include horizontally (ex. 5 boxes)
- If there are 5 boxes, there will be 6 spaces separating the boxes and walls
- So we will take the total width of the wall (ex. 240 inches) subtract 36 inches (6 spaces x 6 inches between) = 204 inches
- From there we will divide the 204 inches by the desired number of boxes, in this case 5: 204 inches / 5 boxes = Each box is 40.8 inches wide
- Do the same calculations for your vertical boxes
- If you are using a chair rail, the space between your boxes and chair rail will vary. Since our ceilings are very high, we decided to include a 10 inch space between the bottom row of boxes and the middle row of boxes, with the chair rail taking up 2.5 inches of the 10 inch space.
Step 2: Cut
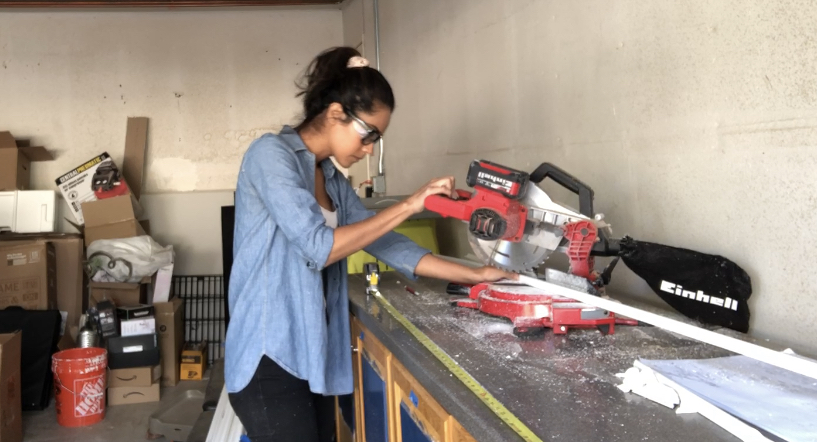
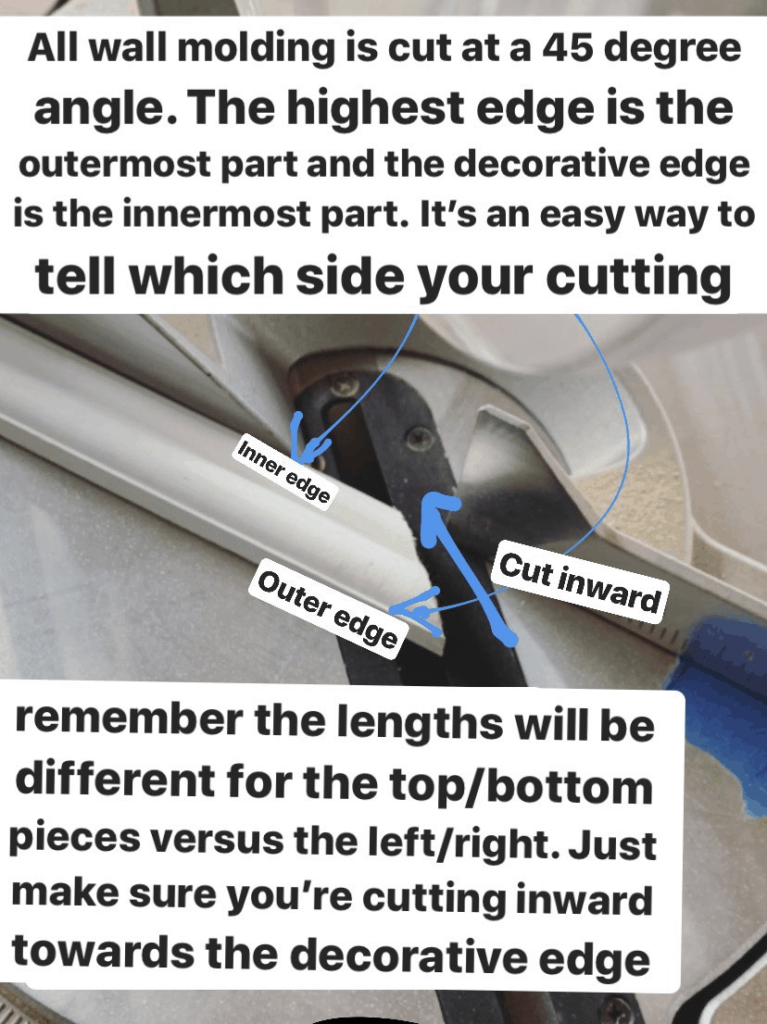
Once you’ve figured out the size of each box, you can start making your cuts! This is where you get to use the miter saw. In my experience, it’s easier to make all the cuts for each row at once. Since I had 3 rows, I started with all the lower row cuts first. You’ll want to make sure the outer edge of your cap moulding is placed correctly on the miter saw. See photo for reference below.
Step 3: Laser level and nail gun time!
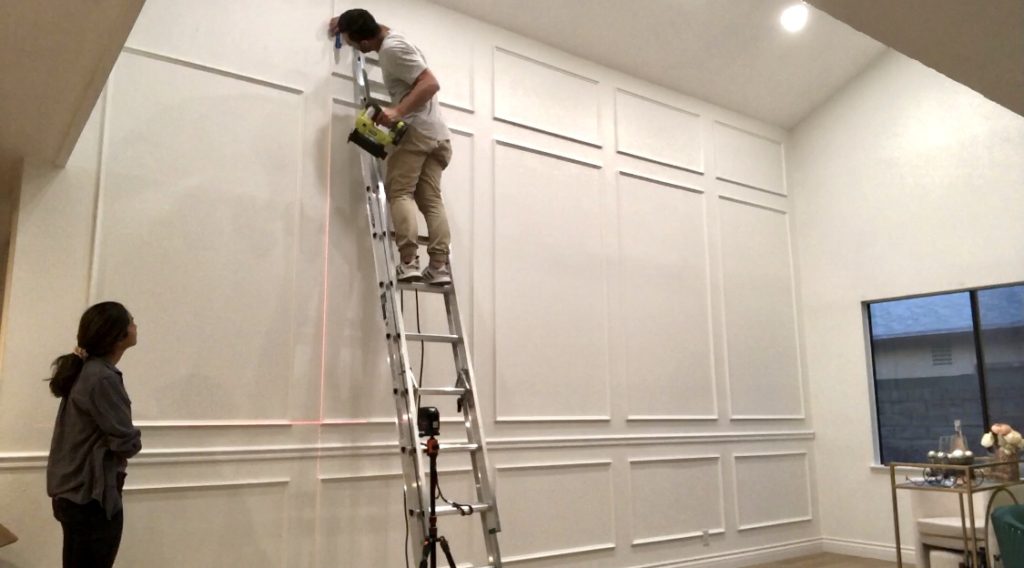
From here, the fun begins. The laser level is not necessary but sure does make the job go by much quicker. First you’ll need to set up your laser level to shoot a horizontal line for the bottom row of boxes. Once that’s done, you will shoot the vertical line to match the first column of boxes you want to start on. The intersection of the vertical and horizontal line will create a “t” with the laser level (see pic above).
Then you will take your nail gun, and begin nailing the mitered pieces in line with the laser. You will repeat this process for all of your boxes.
Step 4: Bevel cuts on the chair rail
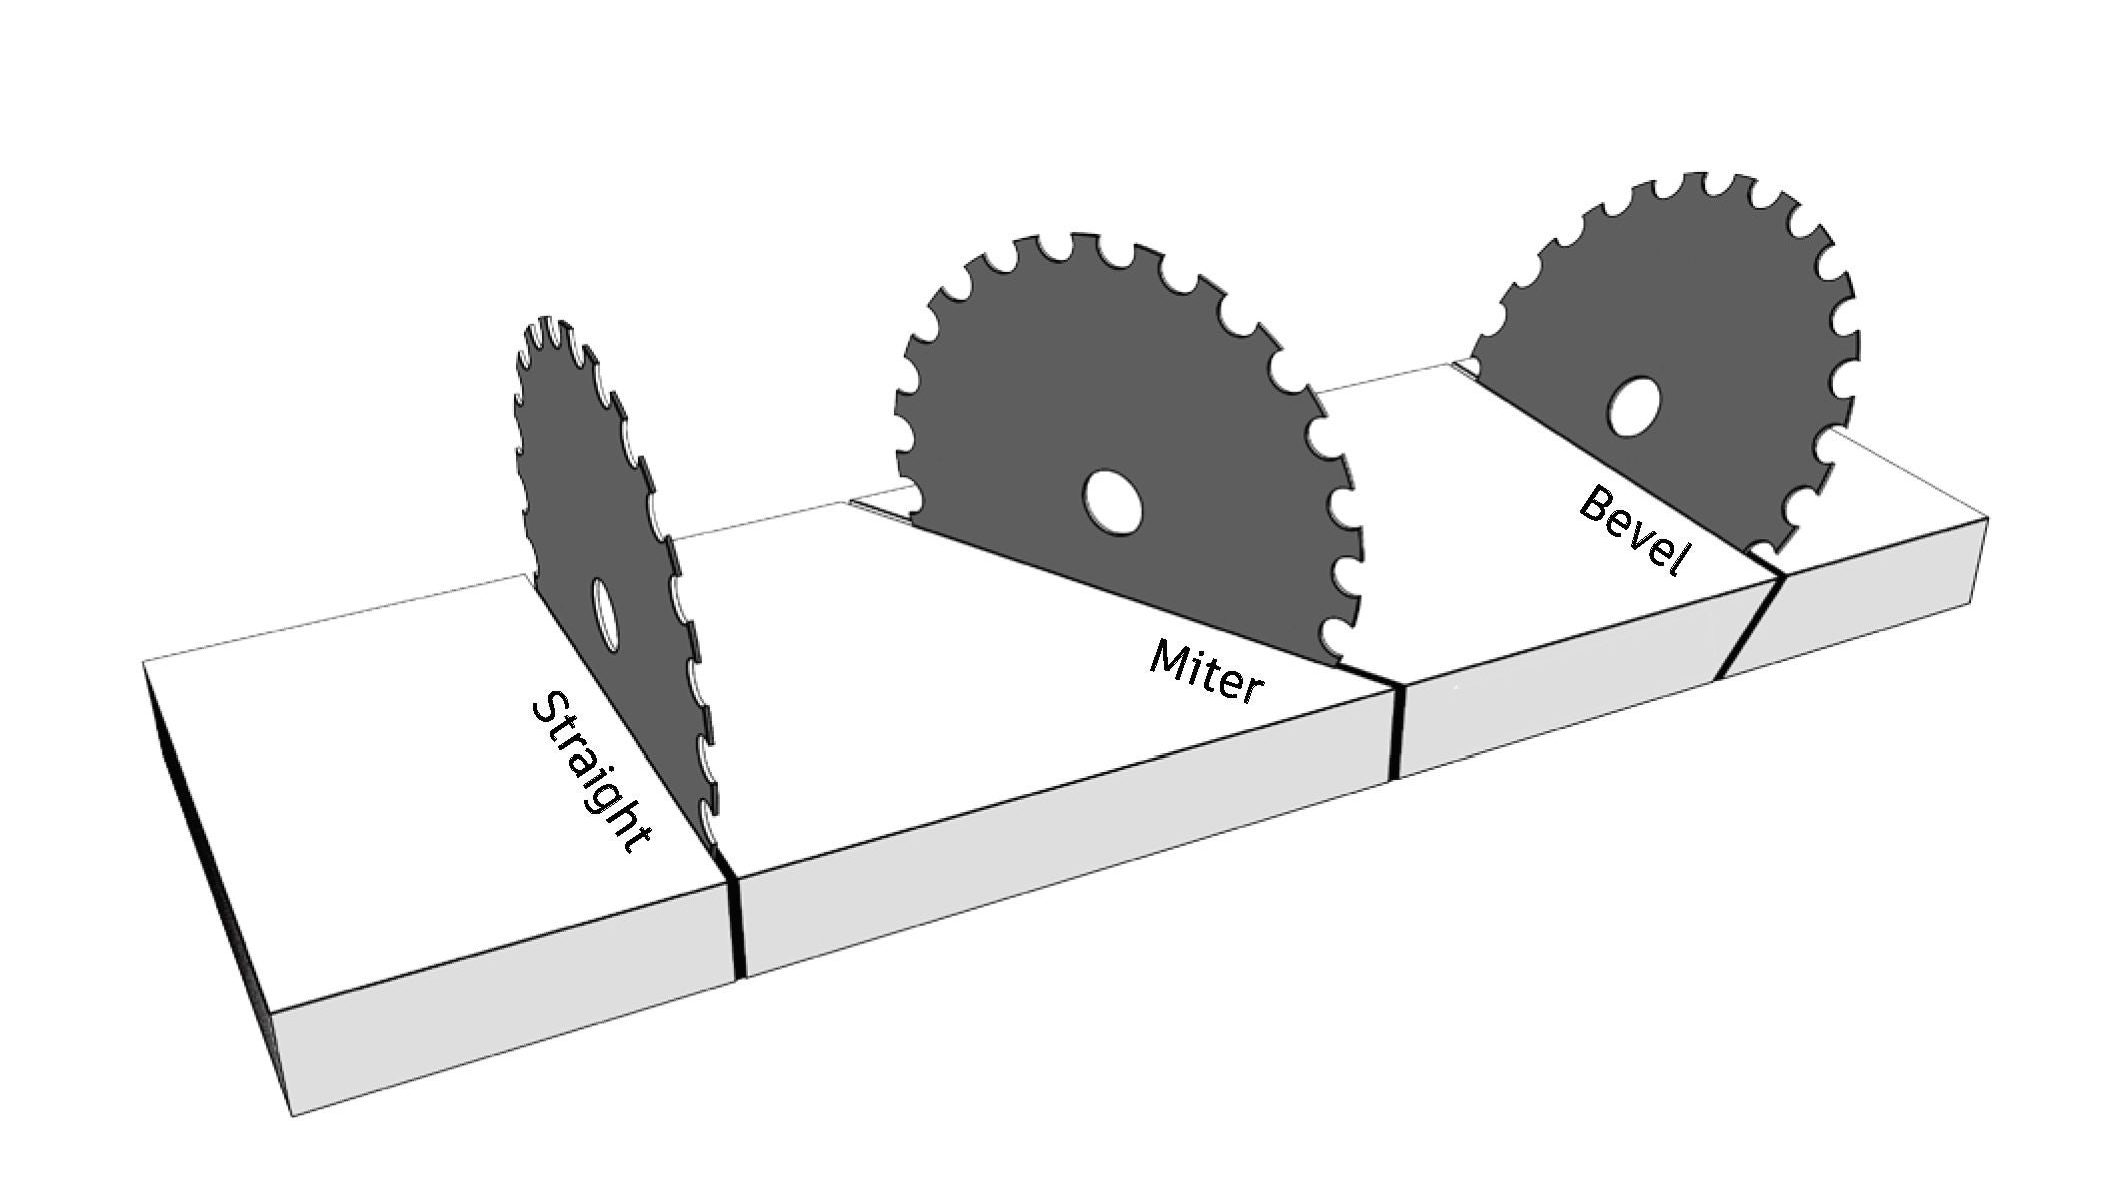
The only time you should need to do bevel cuts are when the moulding pieces are not long enough to accommodate your measurement. For the most part, this will only happen on your chair rail piece which will span from one side of the room to the other.
Here is a quick tutorial on how to do a bevel cut if you don’t already know. I had to get a tutorial from my husband so don’t feel bad if you have no idea what a bevel cut is 🙂
Step 5: Caulking & Spackling
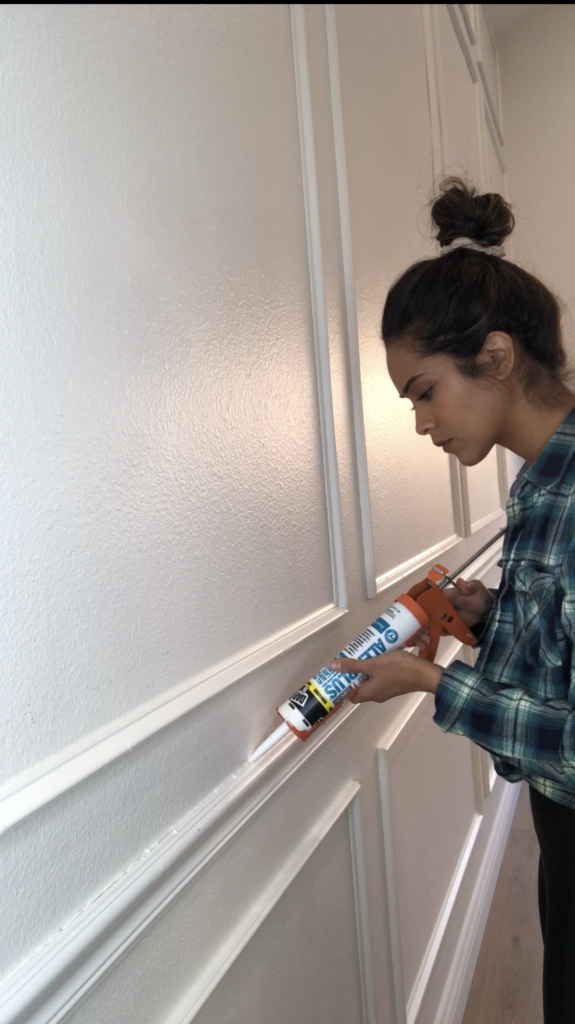
This part of the process is tedious but do not skip it!! It’s these details that make your project look professional and absolutely is worth the time.
First you’ll cut a small 45 degree angle on your caulk and then place it in the caulk gun. The caulk will be used to fill all the seams in between the moulding and the wall. You can also use the caulk to fill the corner gaps, if there are any, between your mitered edges.
You’ll need to use spackling paste for the nail holes, however. If you try to fill the holes with caulk it will leave a bit of an inverted bubble – not leaving a flat surface for painting.
Once you’ve spackled, make sure to sand off any of the excess spackle on the moulding to create a smooth surface. Then you’ll need to wipe off any debris from sanding with a tack cloth or rag.
Step 6: Painting
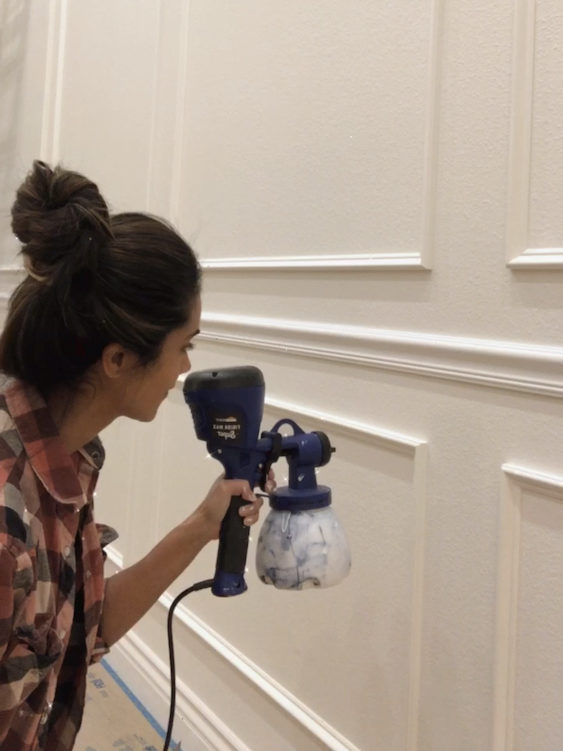
The easiest way to do this is with a paint sprayer but you could also use a brush to paint the moulding by hand. The paint sprayer I use doesn’t have much overspray when you use the smaller nozzle so it’s perfect 🙂 And that’s it!! You’re done!
BEFORE:
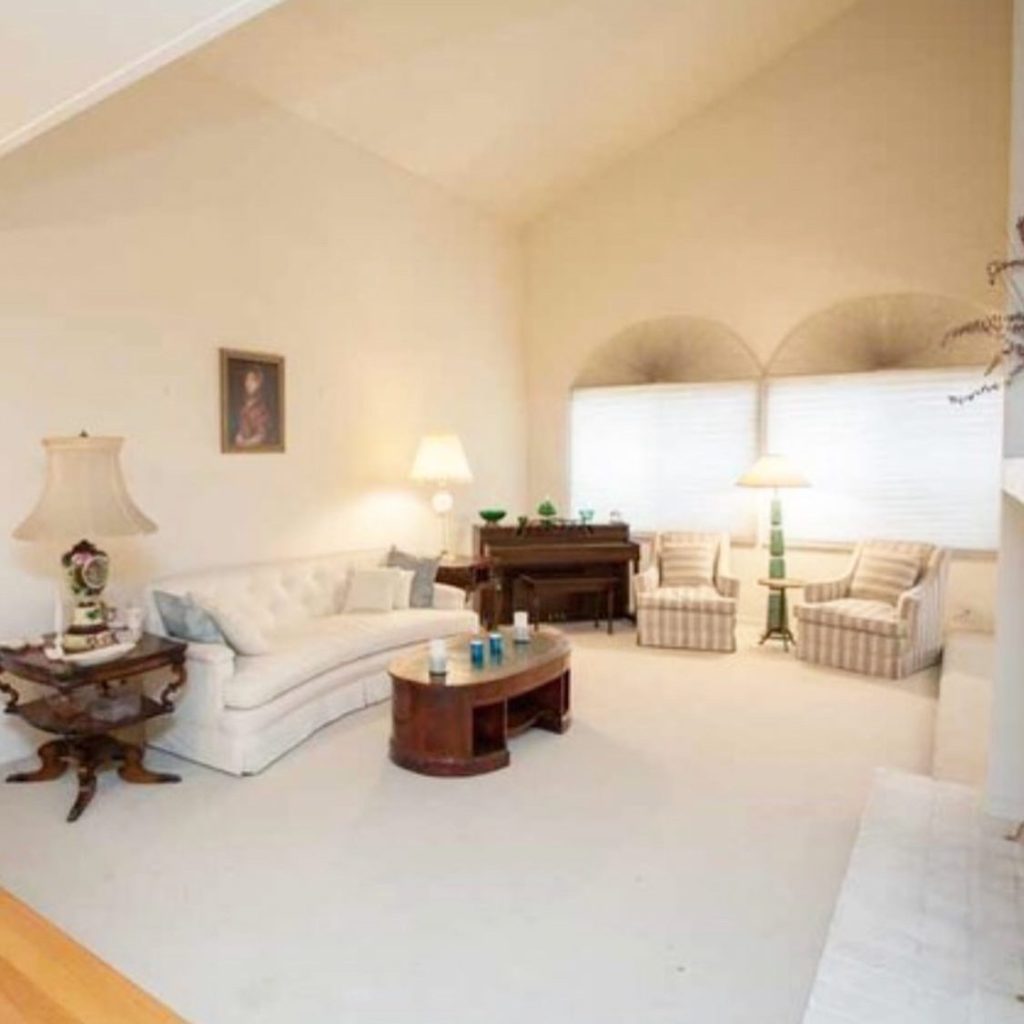
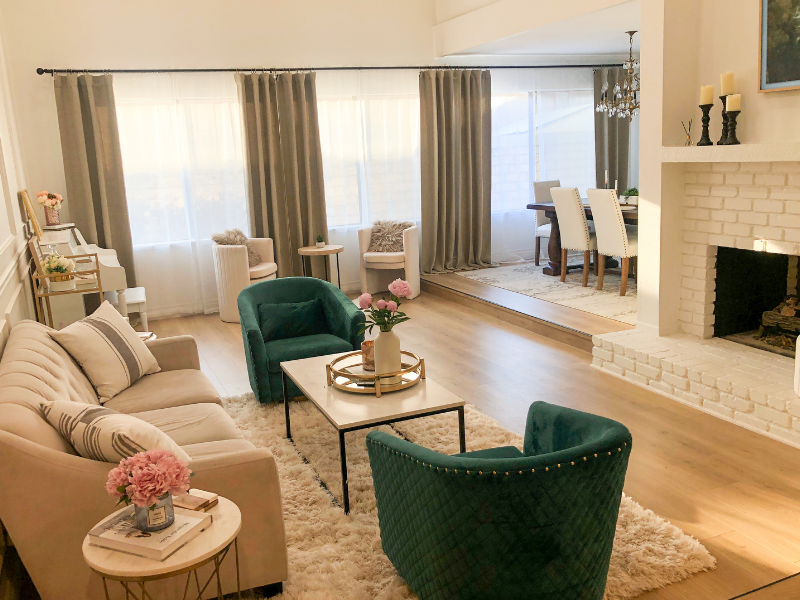
AFTER:
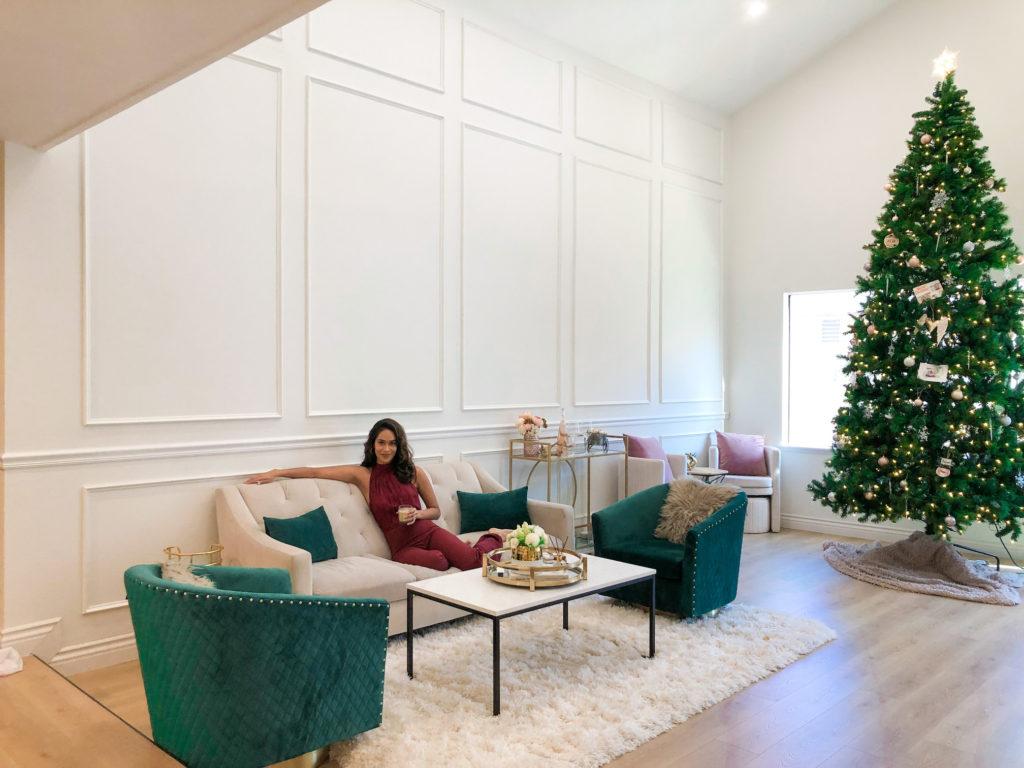
SHOP THE POST:



Thank you for sharing this informative article! All the information provided by you is really very helpful for all. I agreed that by using tack cloth you can keep your project dust-free and it is useful for cleaning fine dust off a surface. Everyone should follow the tips provided by you, it will make their work easier. Keep Posting! Keep Sharing!